The Comprehensive Guide to 3D Exterior House Design: Principles, Tech & Strategy
The architectural skin of a residence serves as the primary mediator between a structure’s internal sanctuary and the external world. Historically, the reimagining of this boundary required a localized, labor-intensive series of consultations involving physical swatches, hand-drawn sketches, 3d exterior house design, and significant guesswork regarding the interplay of light and shadow. Today, the digitization of architectural visualization has moved this process into a specialized technological sphere where homeowners and professionals manipulate the variables of residential facades with unprecedented speed and mathematical precision.
However, the shift toward a virtual methodology introduces its own set of complexities. While digital tools democratize access to high-end design, they also create a “translation gap” between the vibrance of a backlit screen and the flat reality of a matte-finish material under a gray October sky. Navigating the world of exterior modification in a digital-first environment requires more than just an aesthetic eye; it demands a critical understanding of how digital inputs relate to physical building physics, local zoning ordinances, and the logistical realities of material procurement.
The current landscape of residential planning has evolved into a hybrid model. The initial conceptualization often happens through remote collaboration, leveraging high-resolution photogrammetry and three-dimensional modeling. This phase allows for the testing of radical ideas—shifting from a traditional clapboard to a contemporary rainscreen system, for instance—without the financial risk of physical samples. Yet, the authority of these digital plans is only as strong as the data underlying them. As we explore the nuances of this field, it becomes clear that the digital interface is not merely a gallery of images, but a sophisticated tool for risk mitigation and asset management.
Understanding “3d exterior house design”
The discipline of 3d exterior house design is frequently oversimplified as the mere creation of a “pretty picture.” In a professional editorial context, it must be understood as the synthesis of geometric data, light physics, and material science. It represents a “digital twin” of a physical asset, allowing for the simulation of variables that are too costly to test in reality. This includes solar orientation, moisture runoff patterns, and the aesthetic cohesion of varied textures. A common misunderstanding among laypeople is that these designs are purely decorative; in fact, a high-fidelity 3D model often serves as the precursor to structural engineering and municipal permit approvals.
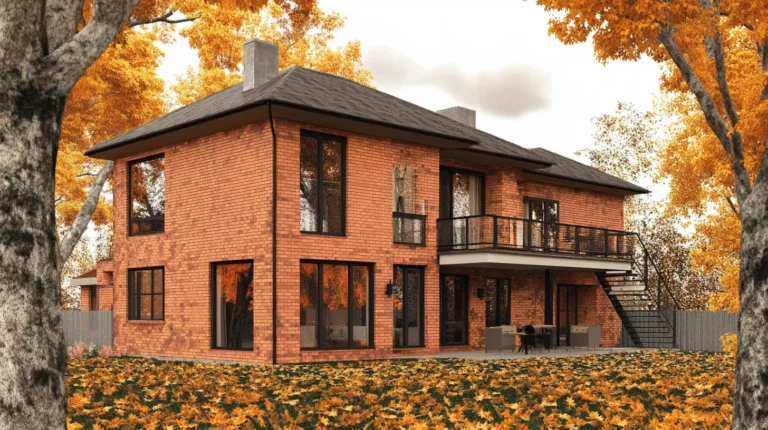
One of the significant oversimplification risks in this field is the reliance on “out-of-the-box” software assets. A generic rendering of a brick wall does not account for the specific mortar depth, the local clay color, or the way that specific brick reacts to a North-facing shadow in a humid climate. True 3D design involves “bespoke texturing,” where the digital material is mapped to reflect the actual physical properties of the intended product. Without this level of detail, the transition from screen to site often results in homeowner disappointment or, worse, material incompatibility.
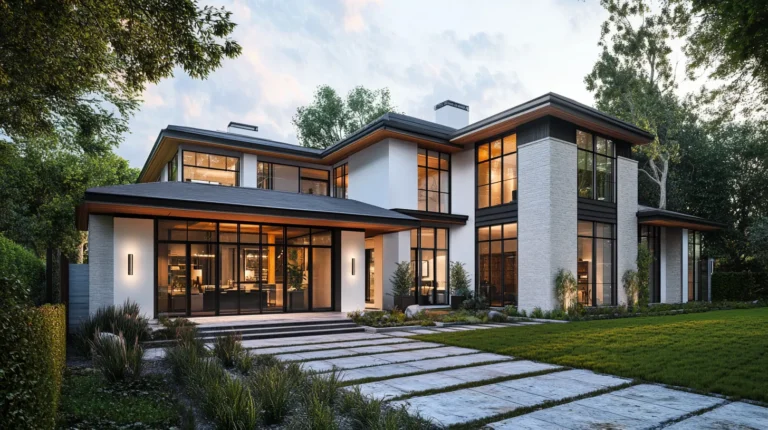
Perspective also plays a critical role. A 3D model allows for “human-eye-level” verification. Architects traditionally relied on “bird’s-eye” views, which can be deceptive regarding how a house actually feels to a pedestrian or a returning homeowner. By utilizing 3D space, designers can evaluate the “massing” of the building—how the volumes of the garage, the entryway, and the roofline interact—to ensure the house doesn’t feel top-heavy or architecturally disjointed from its immediate environment.
The Systemic Evolution from Blueprints to Renderings
The transition from two-dimensional hand-drawings to three-dimensional digital environments marks a paradigm shift in residential architecture. For centuries, the “blueprint” was a set of instructions for builders, requiring the homeowner to possess a high degree of spatial literacy to imagine the final result. This often led to “construction-phase realizations,” where homeowners would request expensive changes only after the framing was complete because they finally “saw” the scale of the house.
The introduction of Computer-Aided Design (CAD) in the late 20th century digitized the blueprint but largely maintained the 2D constraint. It wasn’t until the early 2010s, with the rise of powerful Graphics Processing Units (GPUs), that 3d exterior house design became accessible to the residential market. Systemically, this has moved the decision-making process upstream. We now live in an era of “virtual prototyping,” where the “errors” are caught in the software rather than on the job site. This evolution has also been fueled by the rise of “BIM” (Building Information Modeling), where every digital element—a window, a door, a stone slab—contains metadata about its cost, weight, and thermal performance.
Conceptual Frameworks and Mental Models
To manage the infinite variables of an exterior project, designers utilize specific mental models that prioritize certain outcomes over others.
The Thermal Envelope Framework
This model views the house not as an aesthetic object but as a thermal barrier. When designing in 3D, the focus is on the “continuity” of the insulation and the avoidance of “thermal bridges.” Every aesthetic choice, such as a large floor-to-ceiling window, is evaluated for its impact on the home’s energy consumption. This framework limits the “beauty-at-all-costs” mindset.
The Path of the Sun (Solar Mapping)
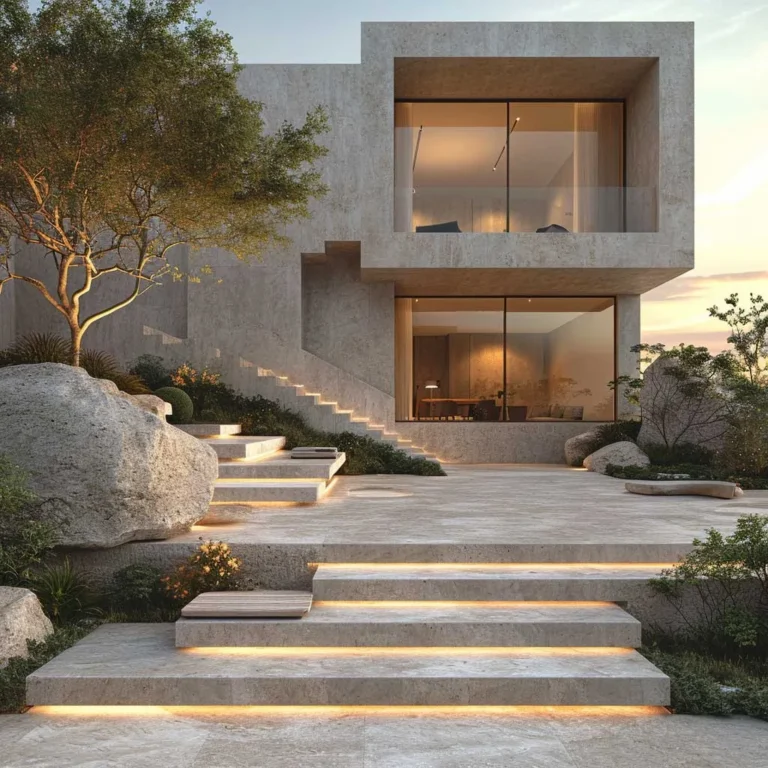
A 3D model is functionally useless if it doesn’t account for the specific geographic coordinates of the lot. Solar mapping allows designers to simulate how the house will look at 10:00 AM in December versus 4:00 PM in July. This informs the placement of overhangs (eave depths) and the selection of paint sheens, as high-gloss finishes can create blinding glare in high-sun environments.
The Material Hierarchy Model
This framework suggests that a home should have no more than three primary materials to maintain visual cohesion. The 3D environment is used to “balance the volumes”—ensuring that the heaviest material (like stone) sits at the base of the house, while lighter materials (like wood or metal) occupy the higher elevations. This follows the natural logic of geology and physics, which the human eye finds instinctively “correct.”
Key Categories of Architectural Visualization
Different projects require different levels of digital fidelity. Choosing the wrong category can lead to either wasted budget or insufficient data for construction.
| Category | Primary Focus | Trade-off |
| Massing Models | Volume, scale, and rooflines | No texture or color; focus is purely on shape. |
| Photorealistic Renderings | High-fidelity color, light, and texture | Beautiful for visualization; lacks technical metadata. |
| Interactive 3D Walkthroughs | User experience and spatial flow | High computational cost; harder to share via mobile. |
| Digital Twins (BIM) | Structural integrity and material specs | Highly expensive; requires specialized engineering input. |
| VR/AR Immersion | Realistic “feeling” of the space | Requires specialized hardware (headsets). |
Realistic Decision Logic
A homeowner seeking to “refresh” their siding and paint should opt for Photorealistic Renderings. However, if the project involves an addition or a complete roofline change, a Massing Model followed by a Digital Twin is the only way to ensure the new structure doesn’t interfere with existing plumbing, electrical, or structural loads.
Detailed Real-World Scenarios and Constraints
Scenario 1: The Modern Infill with Privacy Constraints
In a dense urban environment, a homeowner wants large windows but faces a three-story neighbor just ten feet away. The 3D design phase is used to perform “sightline analysis.” By placing a virtual camera inside the 3D house and looking out, the designer can adjust the window heights and angles to maximize sky views while blocking the neighbor’s brick wall.
Scenario 2: The Coastal Retrofit and Wind Loads
On the Florida coast, the design isn’t just about style; it’s about survival. A 3D model is used to simulate high-velocity wind patterns around the house. This might reveal that a proposed decorative “fin” on the exterior would actually act as a sail in a hurricane, risking the structural integrity of the wall. The design is adjusted to be “aerodynamically neutral.”
Scenario 3: The Historic District “Creative Compliance”
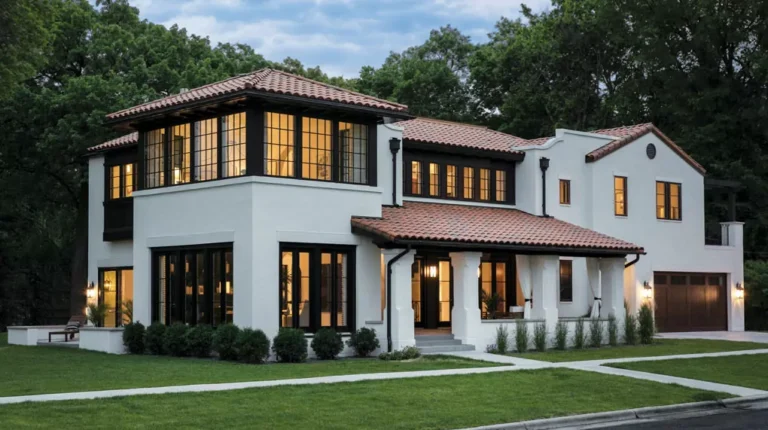
When working with a Historic Preservation Board, 3D design is used to prove that a modern material (like cellular PVC) is indistinguishable from traditional wood when viewed from the street. The designer creates a “split-screen” 3D comparison to win approval for more durable, low-maintenance materials that the board would otherwise reject.
Planning, Cost, and Resource Dynamics
The cost of 3d exterior house design is an investment in risk mitigation. While it adds to the “soft costs” of a project, it typically reduces “hard costs” by 10-15% through the elimination of change orders.
| Factor | Low Impact (Concept) | High Impact (Technical) |
| Design Fee | $500 – $1,500 | $3,000 – $10,000+ |
| Tools Used | SketchUp / Basic Renderers | Revit / Lumion / V-Ray |
| Deliverables | 3-5 Static Images | Full Video / VR / Material Takeoffs |
Opportunity Cost and Variability
The biggest variable in cost is “iteration.” A design that is locked in early is inexpensive. A design that is modified five times in the 3D phase is still cheaper than a design that is modified once during construction. The opportunity cost of skipping 3D design is often realized three years later when a homeowner realizes their “gray” house actually looks “purple” in the specific light of their region—a mistake that costs $15,000 to repaint but $0 to fix in a 3D model.
Tools, Strategies, and Support Systems
A professional-grade design ecosystem relies on a stack of specific technologies:
-
3D Photogrammetry: Drones are used to “scan” the existing house, creating a high-fidelity mesh that is accurate to the centimeter.
-
Ray-Tracing Engines: These calculate the behavior of light rays, ensuring that reflections on windows and shadows in “under-eave” areas are physically accurate.
-
Material Libraries: High-end designers use “PBR” (Physically Based Rendering) materials that react to light exactly like their real-world counterparts (e.g., the way brushed aluminum scatters light differently than polished chrome).
-
Topographical Integration: Placing the 3D house on the actual digital terrain of the lot to check for drainage and grading issues.
-
Color Science (CIELAB): Ensuring the digital color codes match the physical paint manufacturer’s pigments to avoid “screen-to-site” drift.
Risk Landscape and Failure Modes
Design failure in 3D environments often stems from a lack of “grounding.”
-
The “Uncanny Valley” of Materials: When a 3D model uses textures that are “too perfect.” In reality, wood has knots and stone has fissures. If the 3D design doesn’t show these “imperfections,” the homeowner will be disappointed by the “messy” look of natural materials.
-
Scale Distortion: Placing 3D furniture or foliage that is not to scale, making the house look larger or smaller than it is.
-
The “Sunlight Lie”: Rendering the house in a perpetual “golden hour” (sunset). This masks how the house will look during the 90% of the day when the light is flat or harsh.
-
Gravity Defiance: Designing cantilevered sections or massive stone features that look beautiful in a digital model but are physically impossible to support without visible (and ugly) structural columns.
Governance, Maintenance, and Long-Term Adaptation
A 3D design should not be a static file; it should be a “living asset” for the property.
The Adaptation Lifecycle
-
Monitoring (Years 1-5): Use the 3D model to track where the most intense UV exposure occurs. This is where you will first notice paint fading or sealant failure.
-
Review Cycles: Every 10 years, the 3D model can be used to “preview” a refresh. Since the geometry of the house is already captured, testing new color trends is nearly free.
-
Adjustment Triggers: If a neighbor builds a house that blocks your light, the 3D model can be updated to see if you need to add skylights or change your exterior color to a higher “Light Reflectance Value” (LRV) to brighten the interior.
Measurement, Tracking, and Evaluation
How do you measure the success of a 3D design?
-
Quantitative: The “Delta” between the estimated material quantities in the 3D model and the actual quantities used on site. A delta of <5% indicates a high-quality design.
-
Qualitative: The “Aesthetic Alignment” score—how closely the finished house matches the 3D rendering.
-
Performance: Post-construction thermal imaging compared to the 3D thermal model to ensure the “as-built” matches the “as-designed” efficiency.
Common Misconceptions and Oversimplifications
-
“3D design is just for new builds.” It is actually most valuable for renovations, where it helps “mask” existing structural flaws.
-
“The colors are exactly what I see on the screen.” Every monitor has a different color calibration. You must always verify with physical swatches.
-
“AI will replace 3D designers.” AI is currently great at “hallucinating” ideas but terrible at following the laws of physics or local building codes.
-
“It’s an unnecessary expense.” The cost of one “redo” of a front door or a pallet of wrong-colored stone eclipses the cost of the entire 3D design process.
-
“Software is the most important part.” A bad designer with great software will still produce a bad house. The “design” is in the proportions and the logic, not the pixels.
Conclusion
The pursuit of a perfect home exterior is no longer a matter of trial and error. The maturity of 3d exterior house design has turned the residential facade into a calculable, testable, and manageable asset. By moving beyond the “pretty picture” and embracing the technical rigor of 3D modeling, homeowners can ensure their property is not only beautiful but also structurally sound and environmentally resilient. The ultimate value of this process lies in its ability to provide “architectural certainty”—the peace of mind that comes from knowing exactly how a home will sit in its environment for decades to come.